I finished Dandelion Meadow using a variation of the mitred facing technique outlined by Melody Johnson. I find it much easier to make the mitres before attaching the facing strips to the quilt and you might too. A full tutorial is set out below.
Issue 143 of Down Under Quilts magazine also contains a step-by-step tutorial (with new and improved photos!) of this technique.

- Using a rotary cutter, trim quilted piece to 12 1/2 square (or desired finished size + 1/2 inch per side).
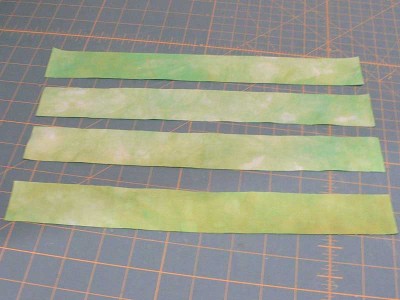
- Cut four strips 1 1/2in x 12 1/2in (or whatever the length your quilt sides are).
- Place the strips in pairs with right sides together.
- Mark a line at a 45 degree angle across the end of each pair of strips and mark another line 1/4in from the edge as shown.
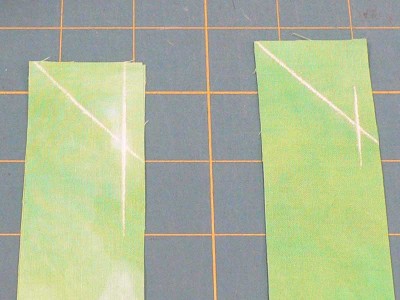
- Sew each pair of strips together by stitching along the marked angled line, stopping and backstitching 1/4in from the edge (ie where the two marked lines intersect).
- Trim the seam to 1/2in. Press seam flat and open to create an “L” shape as shown
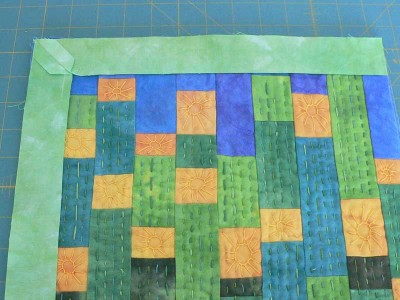
- Mitre join the two “L” pieces together to form a frame.
- Place the frame right side down and press back a 1/4in seam. (I mark a line 1/2in from the raw edge and fold the edge back to this line.)
- Pin the mitred frame to the quilt top right side down and aligning the raw edges.
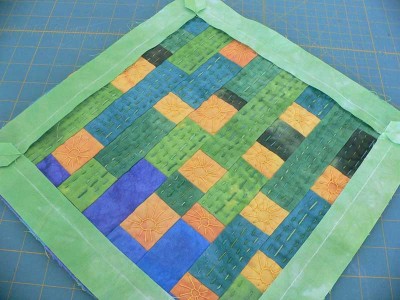
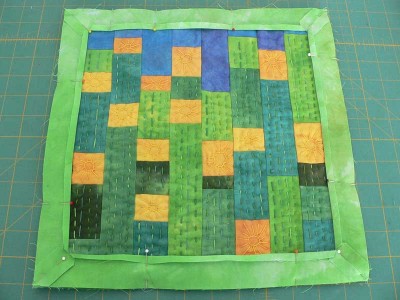
- Using your walking foot and 1/4in seam allowance, stitch through all four layers (ie quilt and facing) around the edge of the facing.(You might like to stitch angled corners but I just sewed seams at right angles.)
- Trim the corners (to remove bulk) taking care not to cut through the stitching line.
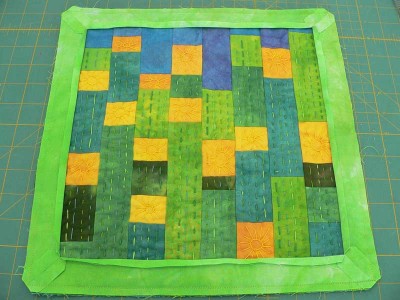
Facing:
- Turn the facing to the back of the quilt and gently poke the corners flat (I use my sewing machine screwdriver).
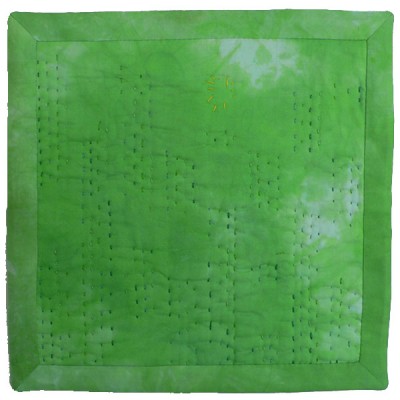
- Press carefully so that none of the facing can be seen from the front of the quilt and slip stitch the facing in place.


Annie says
Thanks for the tutoial on the bindings and the list of other bindings. Will be great to use for future Art quilts
Thank you Brenda
quiltpixie says
thanks! This was really clear and I can see using it 🙂
Jacquie in Vermont says
Very timely! I am about to layer a WH that I plan to finish with facing and hadn’t figured out what to do with the corners. With your instructions I now do.
Thanks a lot!
Patty VanHuis-Cox says
This may be just what I was looking for to finish a quilt I am working on for a show! Thanks for posting!
Terri says
Great tute Brenda!
Deb says
Thanks. This is great and I’ll be using it soon!