
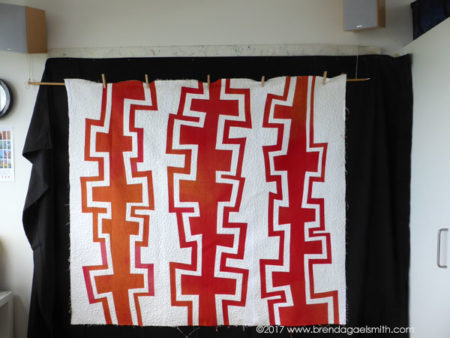
New year, new studio photography trick (or why didn’t I think of this earlier?!) I usually photograph large works on my design wall. Pinning heavy pieces, and keeping them straight, is a challenge/chore and light coloured works don’t show up against the white background. I have never used a hanging rod, because the studio roof […]
Quilt Photography

Delegation and Outsourcing
Yesterday, I wrote about empowerment that comes with learning new skills. Mindful delegation also brings empowerment. Recognising that you cannot be an expert in all things, and thoughtfully outsourcing to people or services with complementary skill sets, can free you up to focus on assignments that bring you joy and satisfaction. Against this background, I […]

Seven Easy Ways to Resize Images
This tutorial sets out seven five easy ways to resize images.� It concentrates on my go-to photo-editing tools – Photoshop Elements and the Photogene iPad app – but also covers free photo software� GIMP,� Irfanview, and Picasa 3 and some built-in features of Microsoft software and Macs. As this is a long post, here is […]
Quilts, Photographs & Galleries
Thanks to the Textile Art Resources Guide, I have found out about an article written by Paul Sugden for The Australian Forum for Textile Arts: Legally Speaking, Paul Sugden on Quilts, Photographs & Galleries. In this article, he discusses a conflict that that arose when a photographer who was hired by a gallery to take […]
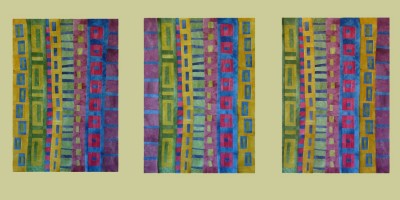
Audition Time
As I have mentioned before, I find my digital camera a very useful design tool. For example, this week I have been working on a small quilt (70x90cm) as a potential gift for friend that provides great hospitality when I travel to quilting events further afield. I was getting bogged down on what order to […]

One swallow does not a summer make…
If you are reading this post, if means the weather forecast was right and rain is preventing me from accessing the internet. However, before the bad weather set in, I did catch enough time to schedule this post and place my order for Gloria Hansen’s new book Digital Essentials. Gloria has always been so generous […]
